Being passionate about Disney really means I'm passionate about all things Disney :)
On Facebook there are so many different craft posts floating around that it got me thinking and got my creative juice flowing today :)
I have a Disney fund, what passionate Disney fan doesn't? I was just keeping it in an old cookie tin I had lying around. But then I started seeing how every one was really making their fund holders match their passion. So I decided you know what, I need to do that same :)
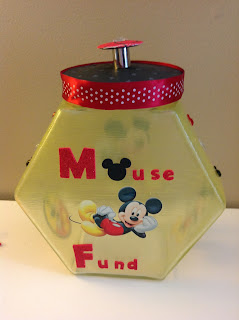
So here in all it's glory, I present to you....My Disney Fund Keeper and how I created it. :)
1. Gather all your supplies! You will need ModPodge, Paint, scrapbook paper, stickers, a paint brush and small tray, and of course your container. I used a glass cookie jar (canister) that I have had for years.


There we go, looking much better now :) This is wet, so it remember, it won't look like this once dried!
5. While the vessel was drying I decided to work on my lid.
 Luckily the lid and handle came apart with a screw.
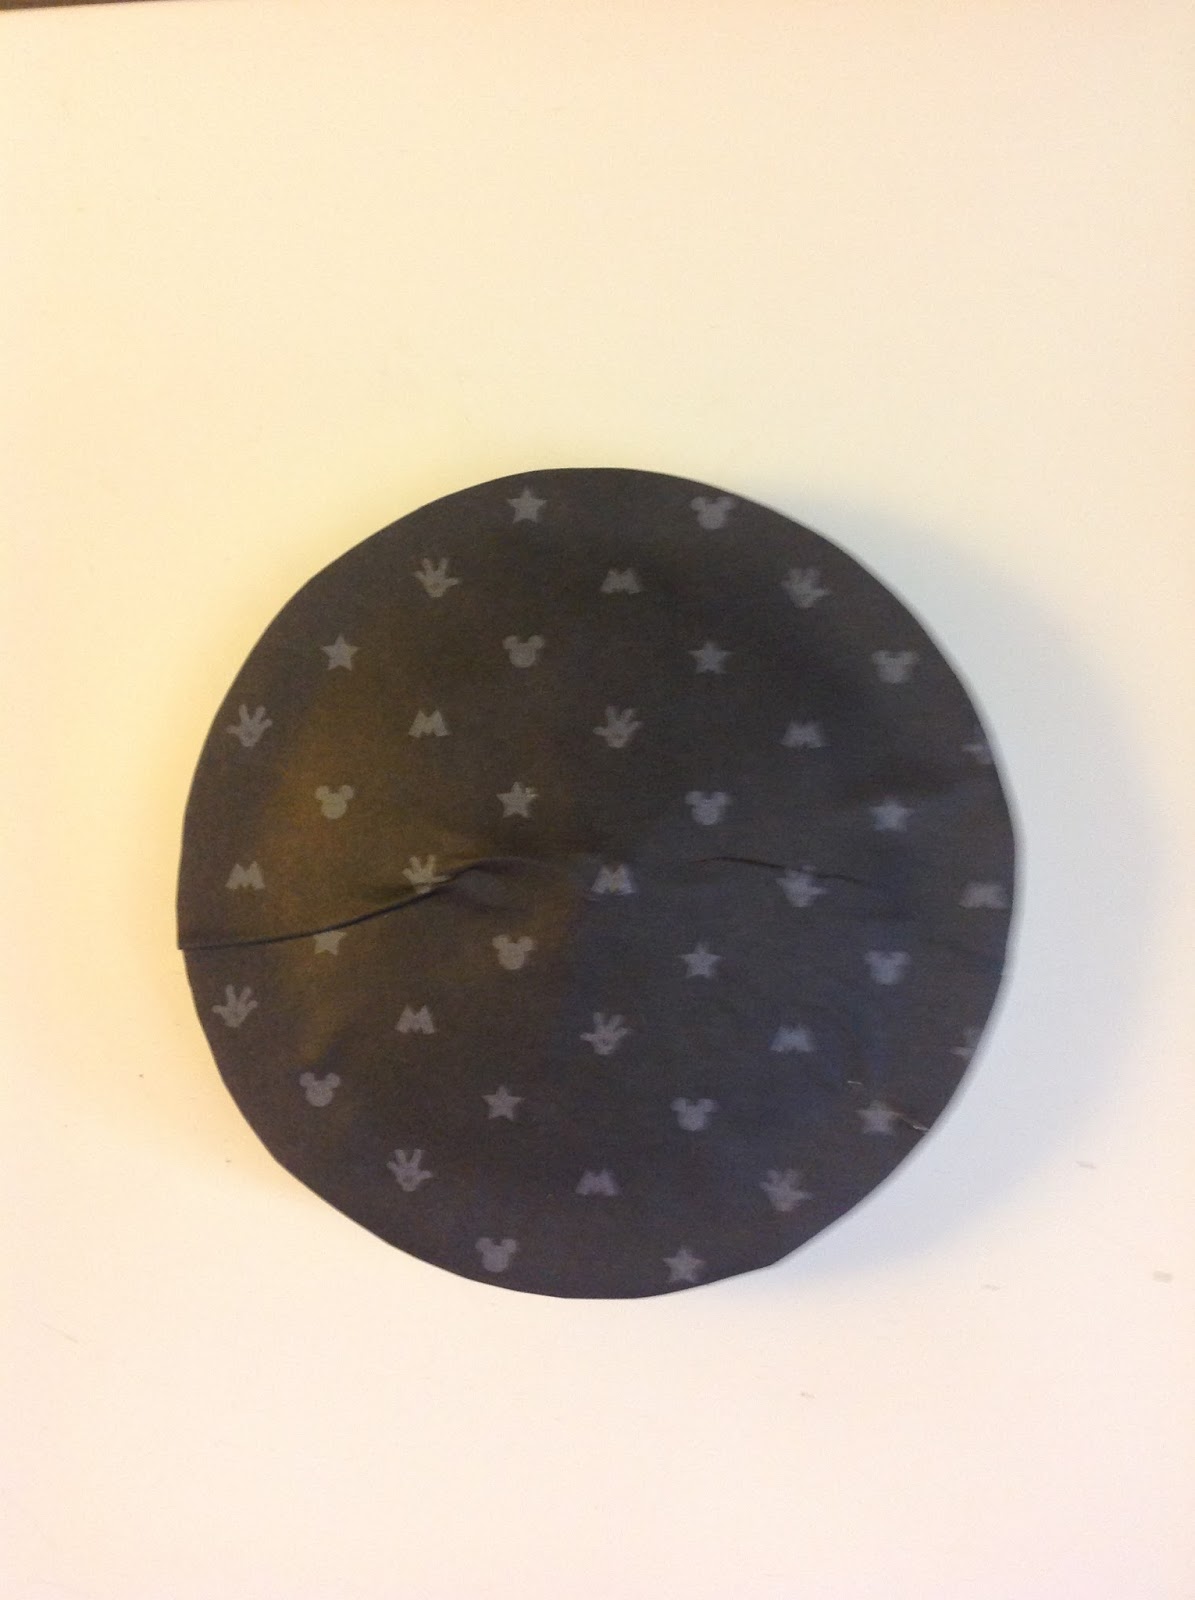
6. Lay the lid on a piece of scrapbook paper. Trace around the lid and cut out the shape. Glue this to top of the lid with your choice of adhesive. I used a craft glue and squeezed a healthy bead all around the top of the lid, then "painted" the glue with my fingers to cover the entire top surface. Once that is on, position your paper on top and smooth out. I had a little bit of problem with smoothing and should have made some extra cuts in my circle as I know have a crease on top, but that's ok, no one will see the lid anyway!
 7. Put your lid back together if it does come apart. I stuck the screw through the paper so that only a tiny hole was made. Then I used ribbon to accent the outer edge of the top. And topped the handle with a bit of scrapbook paper also.


On Facebook there are so many different craft posts floating around that it got me thinking and got my creative juice flowing today :)
I have a Disney fund, what passionate Disney fan doesn't? I was just keeping it in an old cookie tin I had lying around. But then I started seeing how every one was really making their fund holders match their passion. So I decided you know what, I need to do that same :)
So here in all it's glory, I present to you....My Disney Fund Keeper and how I created it. :)
1. Gather all your supplies! You will need ModPodge, Paint, scrapbook paper, stickers, a paint brush and small tray, and of course your container. I used a glass cookie jar (canister) that I have had for years.

2. I decided to "paint" my glass using ModPodge tinted with paint. I didn't want a full yellow container, just something tinted and see through yet with color. I poured about 2 Tablespoons of ModPodge into my paint tray. Then I added a small dab of yellow acrylic paint, just enough to give the ModPodge some color.
3. Start painting! No wrong way here. I used a foam brush for mine, you could use any paint brush you have, or even a small roller if the project is large enough!

This is the first coat after I painted the whole vessel. Some of it is still wet, other parts dry, but as you can see not looking really great at the moment.
4. Add a second coat of ModPodge Paint!

5. While the vessel was drying I decided to work on my lid.

6. Lay the lid on a piece of scrapbook paper. Trace around the lid and cut out the shape. Glue this to top of the lid with your choice of adhesive. I used a craft glue and squeezed a healthy bead all around the top of the lid, then "painted" the glue with my fingers to cover the entire top surface. Once that is on, position your paper on top and smooth out. I had a little bit of problem with smoothing and should have made some extra cuts in my circle as I know have a crease on top, but that's ok, no one will see the lid anyway!


8. By now your vessel should be dry. And this is where fun and Magic begin! Take your favorite Disney stickers and decorate to your hearts content! I love the way mine turned out :)

This is the front of my Disney Fund Keeper

One of the sides

The back side

The other side

And here is filled with some of that fund!
This was such a fun project! I am now roaming the house to see what else I can "Disneyfy"!
Sending you Pixie Dust and Magical Wishes,
Shelly
No comments:
Post a Comment